Hey there! I'm a supplier of VFD parts, and I've seen firsthand how crucial it is to know how to replace the key components of VFD parts. In this blog post, I'll share some tips and tricks on how to do just that.
Why Replace VFD Components?
Before we dive into the replacement process, let's talk about why you might need to replace VFD components in the first place. There are a few reasons:
- Wear and Tear: Over time, the components in a VFD can wear out due to normal use. This can lead to reduced performance or even complete failure.
- Damage: VFDs can be damaged by power surges, overheating, or physical impact. If a component is damaged, it will need to be replaced.
- Upgrades: Sometimes, you might want to upgrade your VFD to improve its performance or add new features. This might involve replacing some of the components.
Identifying the Key Components
The first step in replacing VFD components is to identify the key components that need to be replaced. Some of the most common components include:
- Power Modules: These are responsible for converting the input power into the appropriate voltage and frequency for the motor.
- Control Boards: These boards control the operation of the VFD, including speed, torque, and acceleration.
- Capacitors: Capacitors store electrical energy and help to smooth out the power supply.
- Resistors: Resistors are used to control the flow of current in the circuit.
- LCD Panel: The LCD panel displays important information about the VFD's operation, such as speed, voltage, and current.
- Braking Resistance for VFD: This component is used to dissipate excess energy when the motor is braking.
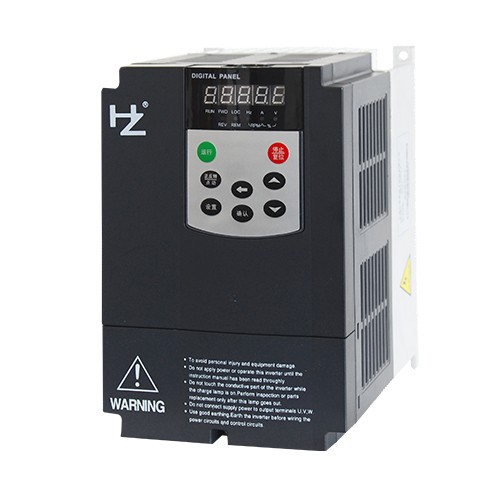
- LED Digital Panel: Similar to the LCD panel, the LED digital panel provides visual feedback on the VFD's status.
Tools and Materials You'll Need
Before you start replacing components, make sure you have the right tools and materials on hand. Here's a list of some of the things you might need:
- Screwdrivers: You'll need a set of screwdrivers to remove the covers and access the components.
- Pliers: Pliers can be used to hold and manipulate small components.
- Multimeter: A multimeter is used to measure voltage, current, and resistance.
- Soldering Iron: If you need to solder components, you'll need a soldering iron and solder.
- Replacement Components: Make sure you have the correct replacement components for your VFD. You can order these from a reputable supplier like me.
Safety Precautions
Working with VFDs can be dangerous, so it's important to take the necessary safety precautions. Here are some tips:
- Turn Off the Power: Before you start working on the VFD, make sure to turn off the power supply and lock out the circuit breaker.
- Discharge the Capacitors: Capacitors can store electrical energy even after the power is turned off. Use a resistor or a discharge tool to safely discharge the capacitors before you start working on the VFD.
- Wear Protective Gear: Wear safety glasses, gloves, and other protective gear to protect yourself from electrical shock and other hazards.
- Follow the Manufacturer's Instructions: Make sure to follow the manufacturer's instructions and safety guidelines when working on the VFD.
The Replacement Process
Now that you have the tools and materials you need and you've taken the necessary safety precautions, it's time to start replacing the components. Here's a general guide on how to do it:
- Remove the Covers: Use a screwdriver to remove the covers from the VFD. This will give you access to the components.
- Identify the Faulty Component: Use a multimeter to test the components and identify the faulty one. You can also look for signs of damage, such as burnt marks or cracked components.
- Remove the Faulty Component: Once you've identified the faulty component, use a screwdriver or pliers to remove it from the VFD.
- Install the Replacement Component: Carefully install the replacement component in the same location as the faulty one. Make sure to connect the wires correctly and tighten the screws.
- Test the VFD: After you've installed the replacement component, turn on the power supply and test the VFD to make sure it's working properly. Use a multimeter to measure the voltage, current, and other parameters.
- Replace the Covers: Once you've tested the VFD and it's working properly, replace the covers and tighten the screws.
Troubleshooting Tips
If you're having trouble replacing the components or if the VFD still isn't working properly after you've replaced the component, here are some troubleshooting tips:
- Check the Connections: Make sure all the connections are secure and that there are no loose wires.
- Test the Components Again: Use a multimeter to test the components again to make sure they're working properly.
- Check the Settings: Make sure the VFD is set up correctly and that the parameters are configured for your application.
- Contact a Professional: If you're still having trouble, contact a professional technician or a VFD supplier like me for help.
Conclusion
Replacing the key components of VFD parts can be a challenging but rewarding task. By following the steps outlined in this blog post and taking the necessary safety precautions, you can safely and effectively replace the components and get your VFD up and running again.
If you're in need of replacement VFD components or if you have any questions about VFD repair and maintenance, don't hesitate to reach out. I'm here to help you find the right parts and get your VFD back in top shape. Let's start a conversation about your procurement needs and see how we can work together to keep your operations running smoothly.

References
- "Variable Frequency Drives: Selection, Application, and Troubleshooting" by William J. Driscoll
- Manufacturer's manuals for VFDs